
1
/
of
1
Home Automation Headquarters
Home Assistant Controller – Complete Raspberry Pi 4 Bundle
Home Assistant Controller – Complete Raspberry Pi 4 Bundle
Regular price
$95.99 USD
Regular price
Sale price
$95.99 USD
Unit price
/
per
Couldn't load pickup availability
Home Assistant Controller – Complete Raspberry Pi 4 Bundle
This bundle includes everything required to build a reliable, locally controlled Home Assistant hub using a Raspberry Pi 4. It’s designed to eliminate guesswork and compatibility issues by pairing proven components that work together out of the box.
Whether you’re starting fresh or upgrading an existing setup, this kit provides a solid foundation for a fast, stable Home Assistant installation.
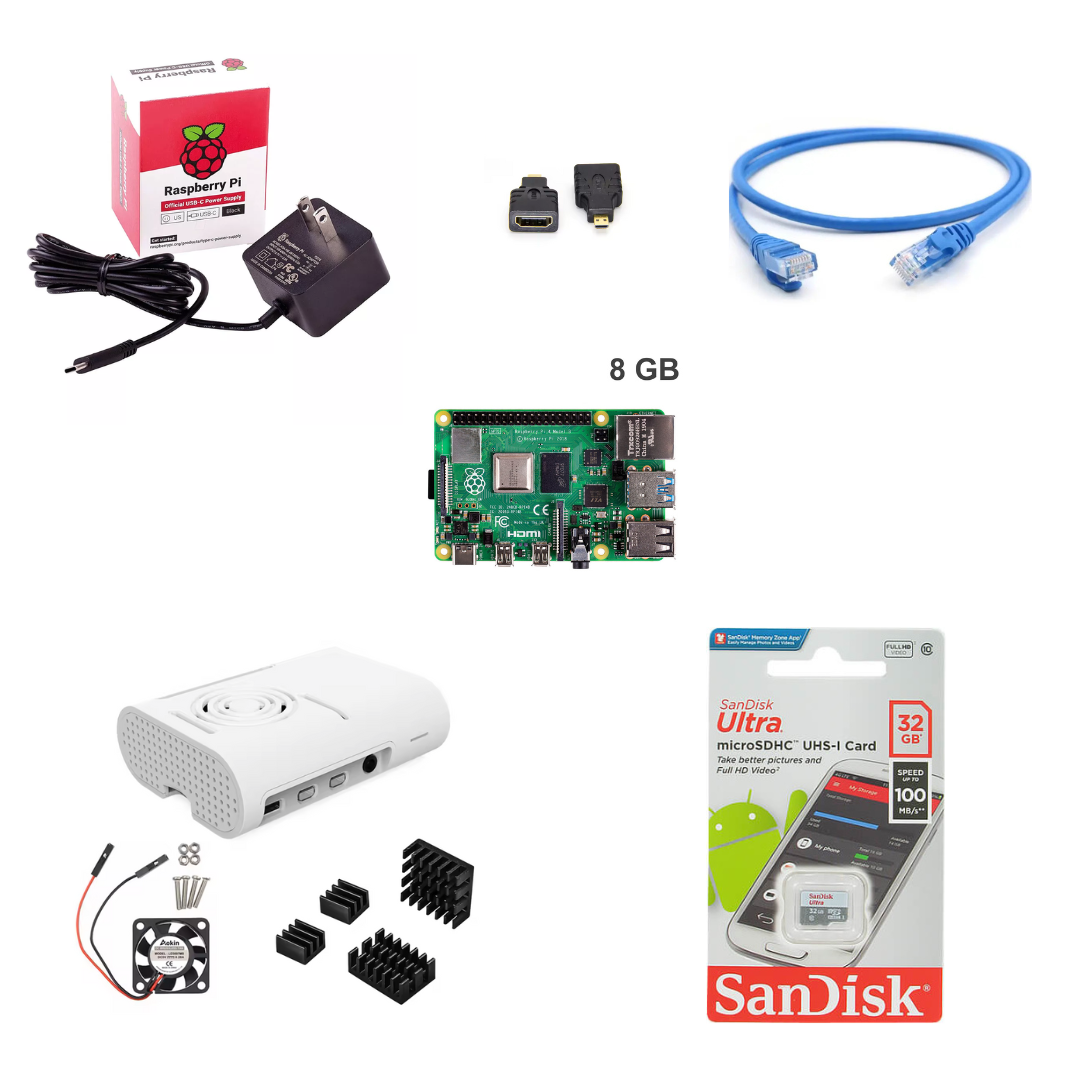
What’s Included
- Raspberry Pi 4B (8GB RAM) – Plenty of headroom for Home Assistant, add-ons, and integrations
- Raspberry Pi 4 case with fan & heat sinks – Keeps the system cool and stable under 24/7 operation
- Official Raspberry Pi USB-C power supply – Clean, reliable power (critical for stability)
- 32GB SanDisk microSD card – Trusted storage for your Home Assistant OS
- CAT6 Ethernet patch cable – Ensures a fast, dependable wired network connection
- HDMI adapter – For initial setup or troubleshooting if needed
Customizable Options
You can choose the color for the following included items:
- Raspberry Pi case (White or Black)
- Official USB-C power supply (White or Black)
All other components are fixed to ensure compatibility and performance.
Why This Bundle
- ✅ No mismatched parts
- ✅ Official power supply (avoids common Pi instability issues)
- ✅ Active cooling for long-term reliability
- ✅ Ideal for wired, local-first Home Assistant deployments
How to Install Home Assistant (Raspberry Pi 4 – 8GB)
-
Download Home Assistant OS
Download the official Home Assistant OS image for Raspberry Pi 4:
https://www.home-assistant.io/installation/raspberrypi -
Install Raspberry Pi Imager
Download and install Raspberry Pi Imager for your operating system:
https://www.raspberrypi.com/software/ -
Flash the microSD card
Insert the included microSD card into your computer. Open Raspberry Pi Imager and:- Select Choose OS → Use custom → select the Home Assistant OS image
- Select Choose Storage → select the microSD card
- Click Write and wait for completion
-
Assemble and connect
Insert the microSD card into the Raspberry Pi, connect the Ethernet cable to your router, and apply power using the official USB-C power supply. -
First boot
Allow 10–20 minutes for Home Assistant to complete its initial setup. The system will automatically resize the filesystem and download required components. -
Access Home Assistant
From a computer or mobile device on the same network, open a browser and go to:
http://homeassistant.local:8123
If that does not load, find the Raspberry Pi’s IP address in your router and use http://<IP_ADDRESS>:8123. -
Complete onboarding
Follow the on-screen prompts to create your user account, set location, and begin adding integrations and devices.
Important Notes
- Home Assistant OS is not pre-installed
- Z-Wave and Zigbee controllers are sold separately
Share
No reviews